Painting Your Fence
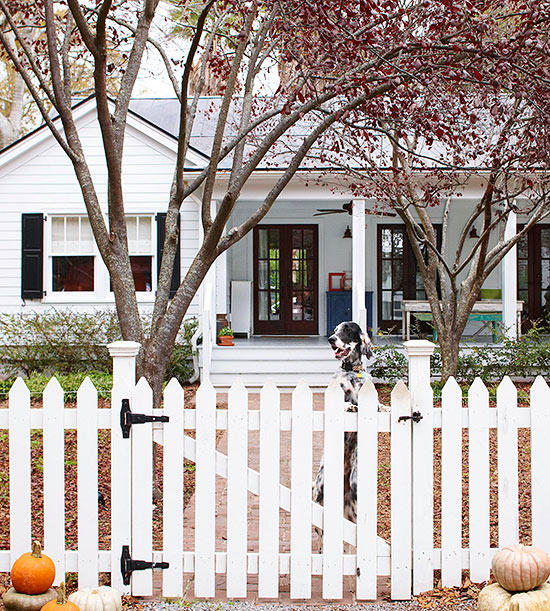
A freshly painted fence can make your house look like a million dollars. Your fence is often the first thing people see when entering your home so why not make a great first impression! Ask any real estate agent - a nice front fence adds greatly to the value of a property. A few coats of paint can rejuvenate your fence and save you the expense of purchasing a new one. And choosing the right colour for your home doesn’t have to be arduous, stop in at your local PaintRight store today and ask for some great advice.
The fence is often the least loved part of the house, but a nicely painted fence can make a home look great and will add to the value too. Painting the fence is a nice social event (all those neighbors walking by to talk to) and gets you out in the fresh air!

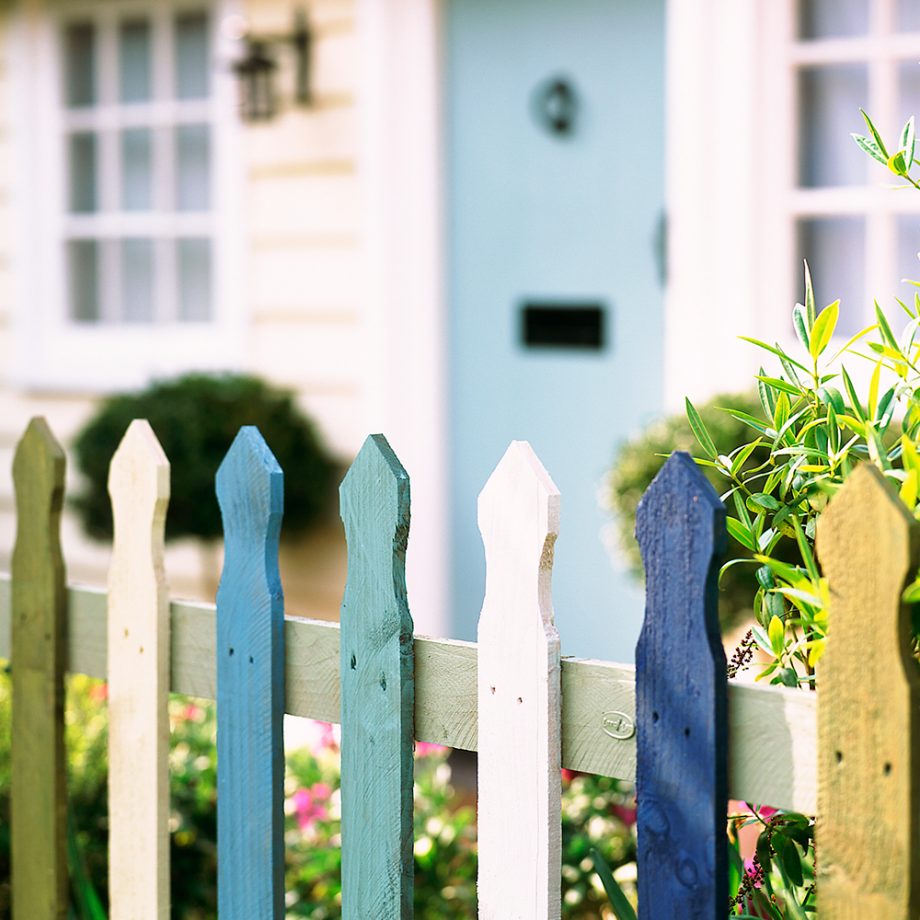
You’ll need an exterior paint and there’s a huge range of fence finishes and colours to choose from. Don’t skimp on the quality or you’ll be painting it again in three years. Your PaintRight professional can advise you on the right paint for the job. The colour is up to you, but you’ll probably want a scheme that matches or complements the exterior of your house.
PREPARATION
The key to any good paint job is preparation and that’s even more important when you are dealing with exterior surfaces. First off, make sure the fence is sound – take a good hard look at the surface. Remove and replace any rotten boards/pickets. Don’t be soft hearted here. If a board is showing any sign of rot, either cut the rotten section off or (easier) replace the whole board or picket. Any rot left behind will quickly get worse under the new paint and may spread. Make sure the nails or screws are all secure and not protruding. Clear any vegetation that is going to get in the way while you’re painting – this will also help to ensure your fence does not rot in the future. If your fence is mostly sound with the odd rough or worn patch – which is typical of a fence with a few years of wear – then follow this procedure. First, use a wire brush to remove any flaky sections or dirt. Then sand back any rough or chipped areas. Apply primer to those areas where you had to clean back to bare wood. If there’s a lot of work to do, you might want to consider a sander or a wire brush attachment for a drill. It’s a good idea to discuss preparation with your PaintRight professional. They can advise on the best methods of cleaning to make sure you get the best out of your new coat of paint.
BRAND NEW FENCE- NO FUSS
So, you’ve just built a new fence and you’re ready to paint it? Well your job is much easier than repainting an old fence. If your fence is brand new, start with an external primer. Your PaintRight professional can advise you on which one is best for your application. Apply one liberal coat. Once that is dry, do a very light sand to remove any bumps and give the topcoat a better ‘key’ (read: grip). Make sure that there are no bare patches or your new paint won’t last long. Make sure you allow sufficient time for each coat to dry properly. You might want to ask your PaintRight professional about tinting the primer. This will help to get the final colour accurate - especially if you are using a strong colour.

PAINTING TIME
Now the fun begins! Stir your paint thoroughly first to make sure the colour is evenly mixed. You can afford to be a little more generous with your paint application than you might be for inside, but make sure there isn’t so much that it causes runs. If you are using more than one colour, always do the light colours first.
Use at least two coats. If you have paint left over or you feel enthusiastic, a third coat will help it last even longer. Your fence will also benefit from some minor maintenance. Keep an eye out for any rotten boards that develop and watch for signs of peeling or chipping as an indication that a repaint is overdue. Being outside, a fence can get dirty, so don’t overlook giving it a good clean to keep it looking beautiful.

