Strip & Restore
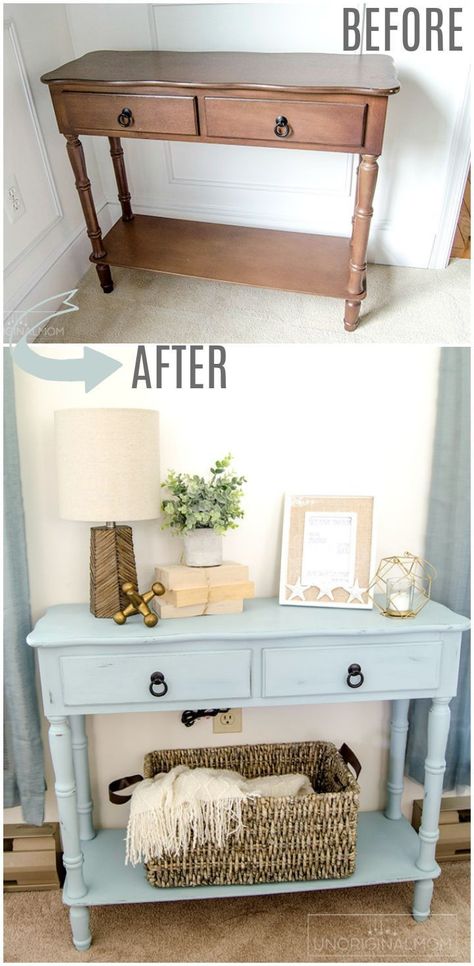
Upcycling and repurposing old furniture is one of the hottest trends right now! More and more DIY enthusiasts are discovering the fun in transforming junk and old furniture into something new and stylish for the home!
There’s a lot of great furniture out there that lies just a few layers of paint away from making a great addition to your home. Auction houses, second hand shops and garage sales often produce a ‘diamond in the rough’ that just needs a little tender loving care to restore its former glory. It’s a great way to get some cheap furniture and many people make a profit from restoring and selling old pieces. What follows is a very brief example. Your PaintRight professional can advise you on most aspects of stripping and restoring from technique and selection through to finishes and the right product. Most important of all, don’t be frightened to have a go! You might find it’s easier than you think and the results can be stunning.

STRIPPING AWAY THE YEARS
There are several ways to remove the old paint, depending on the type of paint used. A heat gun is the most environmentally friendly solution and can be purchased or even hired. Combined with a simple scraper it will overcome many layers of paint. Scrapers are available in a variety of sizes and shapes to help get into nooks and crannies. If the item to be restored has metal fittings such as hinges and knobs you will want to unscrew these and strip them separately.
USING A HEAT GUN
Using a heat gun is simple. Point it at the paint, keeping the nozzle 5 to 20 cm away. When the paint starts to blister it is hot enough for you to start to scrape.Work in small sections at a time and be careful not to apply too much heat. Gloves, goggles and a mask should be worn.
STRIPPING STUBBORN PAINT
More stubborn paint requires chemical strippers. Have a chat to your PaintRight professional about the most appropriate one for your project. You’ll also need to wear protective gear like gloves, a mask and eye protection when using these products. An apron or some very old clothes are also recommended. Make sure you follow the safety procedures on the product label. Most products require application, a working period, then scraping. Repeat as necessary. Be warned, even the new environmentally friendly paint strippers are potentially harmful if allowed to contact skin.
SANDPAPER TIME
When most of the paint is removed, use sandpaper – gradually stepping down from a coarse grade to a fine grade – to remove the last remnants of paint and bring out the timber’s natural grain. An electric sander can be your best friend here, but don’t overdo it. Use a sanding block when sanding by hand. You’ll find it is more comfortable to use and has a better effect. A sanding block is also great for getting in to edges. Make sure you clear away all the dust before starting to stain or seal. A vacuum is just the thing for cleaning up.
FILLING THE CRACKS & GAPS
Before you finish sanding, fill any cracks, knotholes or gaps with a matching putty/wood filler. Don’t forget that often these gaps and cracks give the furniture its character and you might not want to fill them all in. In fact, a few cracks and gaps can add to the appeal of a restored piece.
COATING AND SEALING
There are a number of finishes available from oil through to estapol and varnish or stain, or if you’re after a rustic effect try our soft chalk paint from our Haymes Artisan Collection.The product you choose will depend on the look you’re after. Have a chat to your PaintRight professional and they will steer you to the right product. Apply thin coats using a brush or cloth (depending on your choice of finish). Frequent thin coats are better than a few thick coats. Allow each coat to dry before reapplying.
A well finished piece of interior furniture will last for decades with the right treatment and provide you with a beautiful piece of furniture. If you went with the stain look, most products will benefit from the occasional rub with furniture polish.
Now the only challenge is to convince your friends and family that you did it yourself!

